UCRT Tondo Project Breakdown
Hello! This is a blogpost for the UCRT Tondo model I've been working on in ue5, this started off as a model study turned small project and wanted to challenge myself to setup this model in ue5 with a few textures and other elements. This post will go over my modeling thought process and further breakdowns of various different points of this scene, I will link resources that helped me during this project.
Modeling thought process
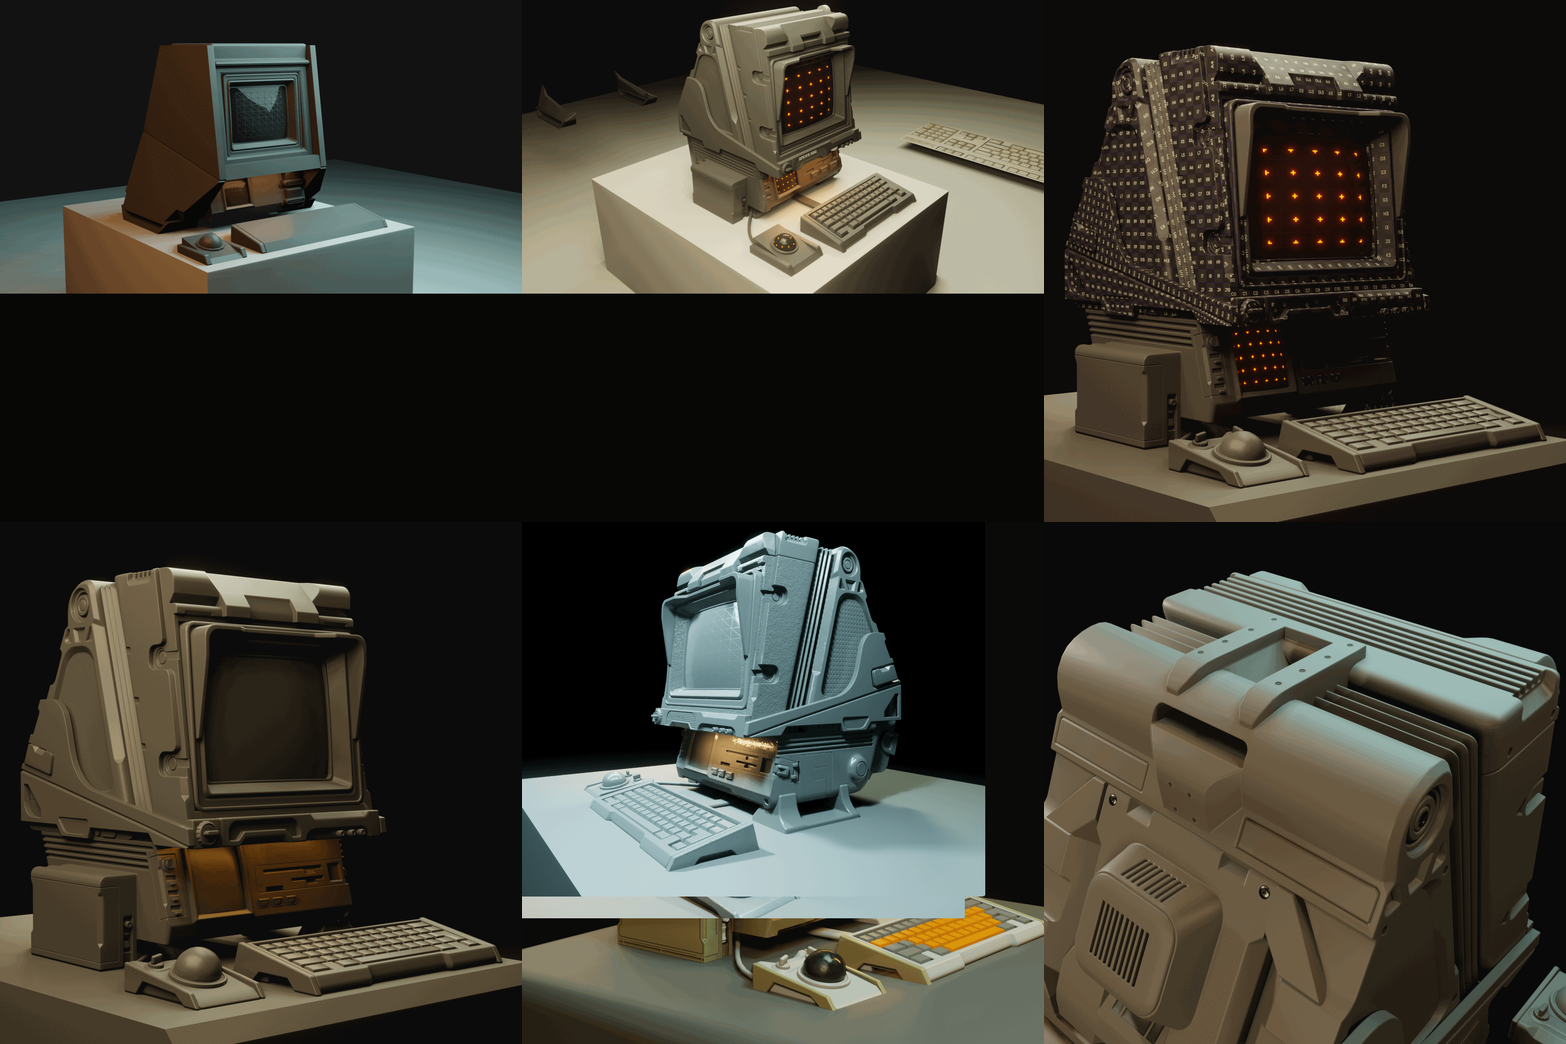
My modeling process normally consist of references and blockouts of various different types of crts, then when I feel like the general shapes are good I move onto secondary elements of detail, like adding weighted bevels to parts of a model, making new Booleans or adding new shapes to parts of the model. lastly I go into the final details/ polish pass, continuing to decide what to add /what to delete and using what I hope is good judgement to get the final look of the model.
My reference board was light but provided a lot of good inspirations to build off of my existing model, I wanted a retro futuristic look with some Hud details on the screens of the model.
Setting up materials in ue5
Creating screen animations
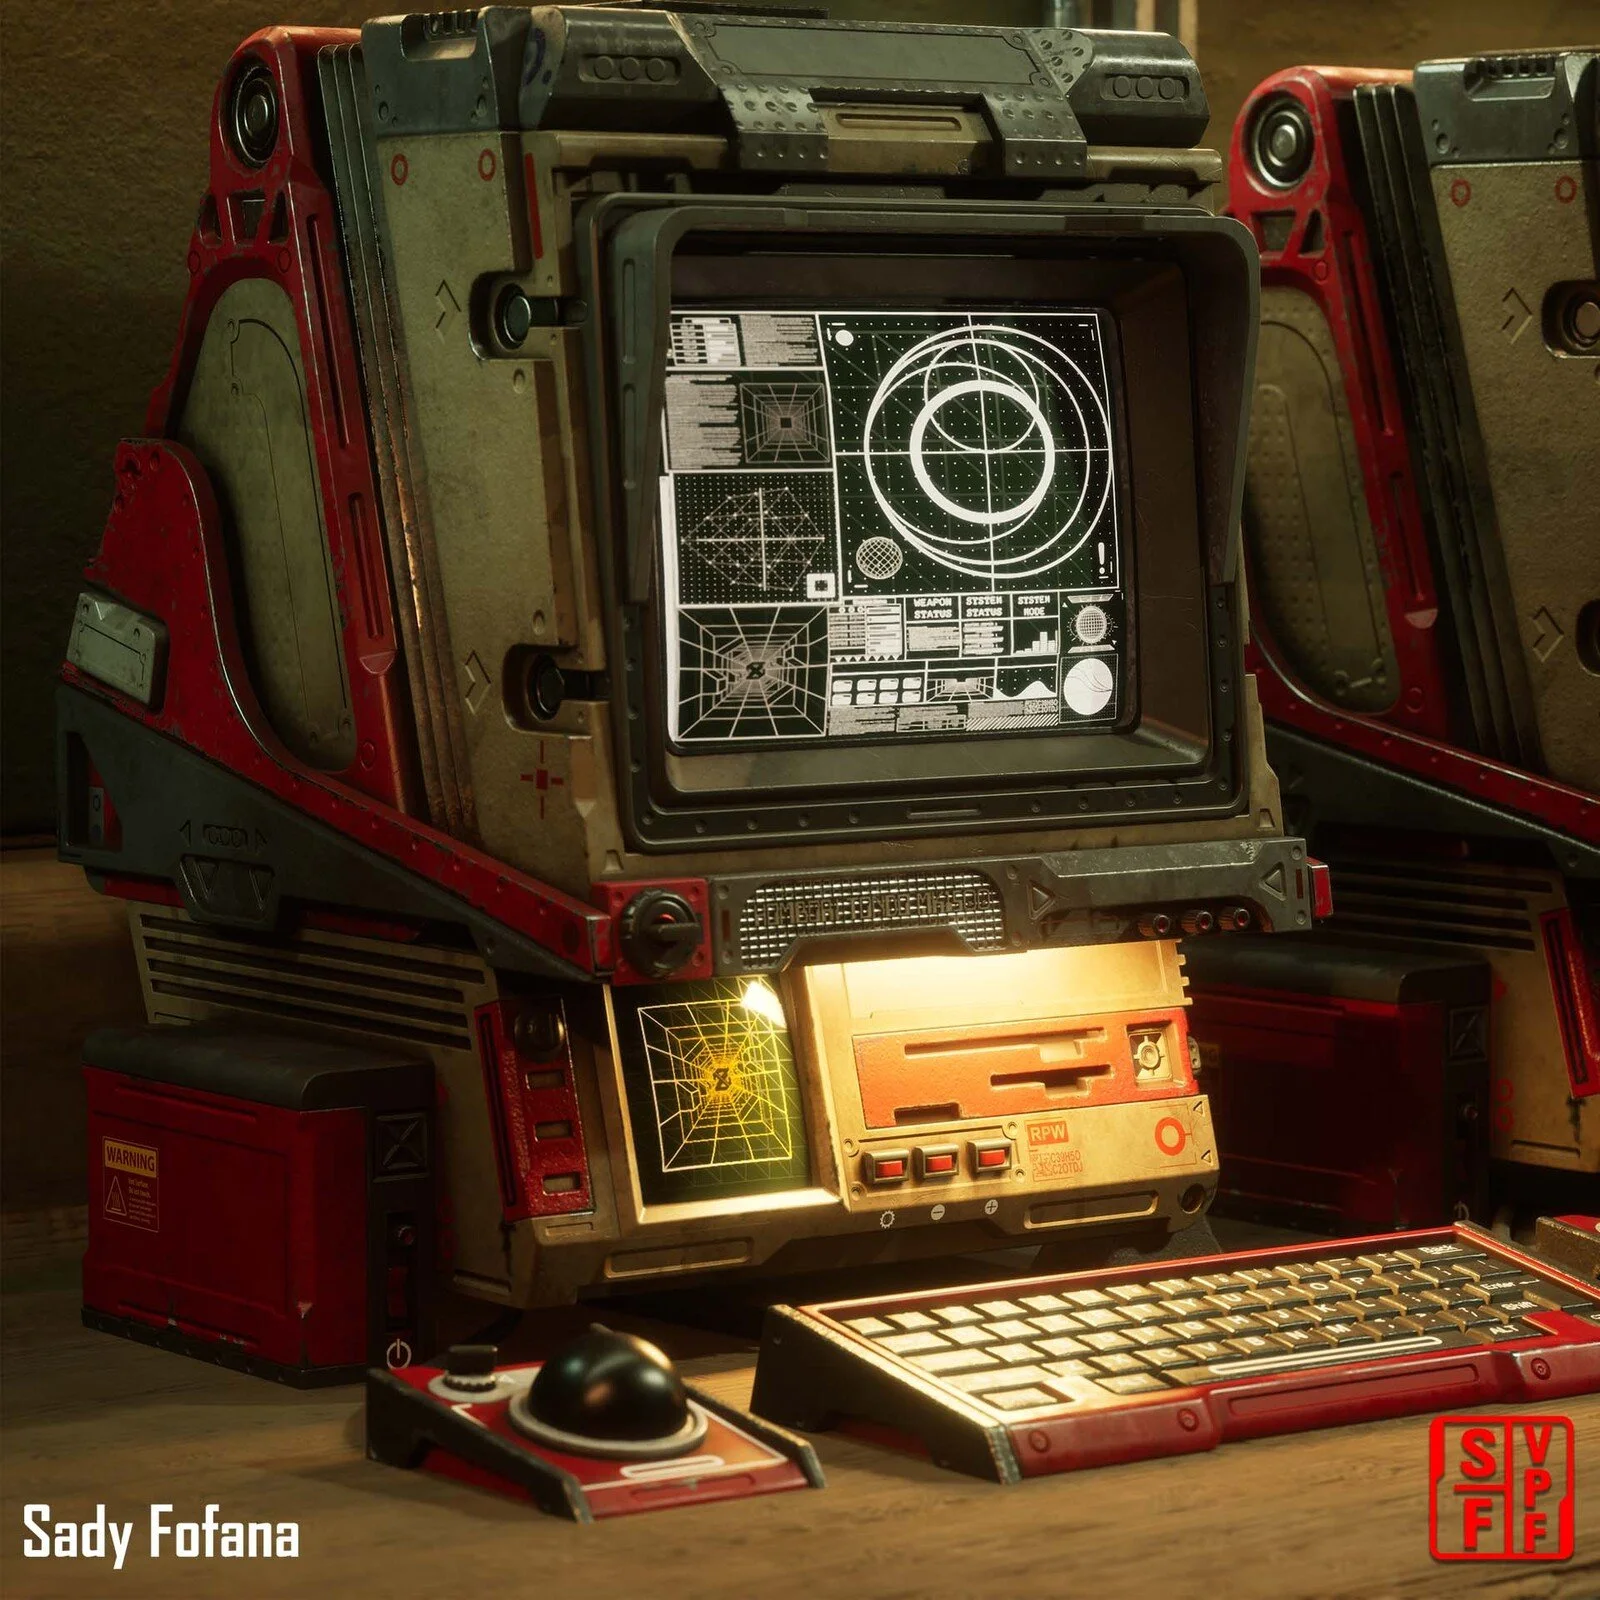
My process with creating screen animations was to use blender to create a mix of new and existing animations with Emissive materials and meshes, at this point I was playing with different types of Hud designs and rendered the animations out as clips, testing them in engine (ue5) allowed me to see if anything looked off.
My Material Setup in ue5 is pretty simple, for the base color I had a vector 3 & texture sample mixed with the lerp node while using the same texture sample as an alpha, then in emissive I used the same alpha. for the roughness I used a grid pattern & constant 1 vector lerped together into the roughness output.
To setup the animation itself this video helped me with the process of using videos in unreal engine:
How to Play a Video In-Game in Unreal Engine 5
Texturing thought process
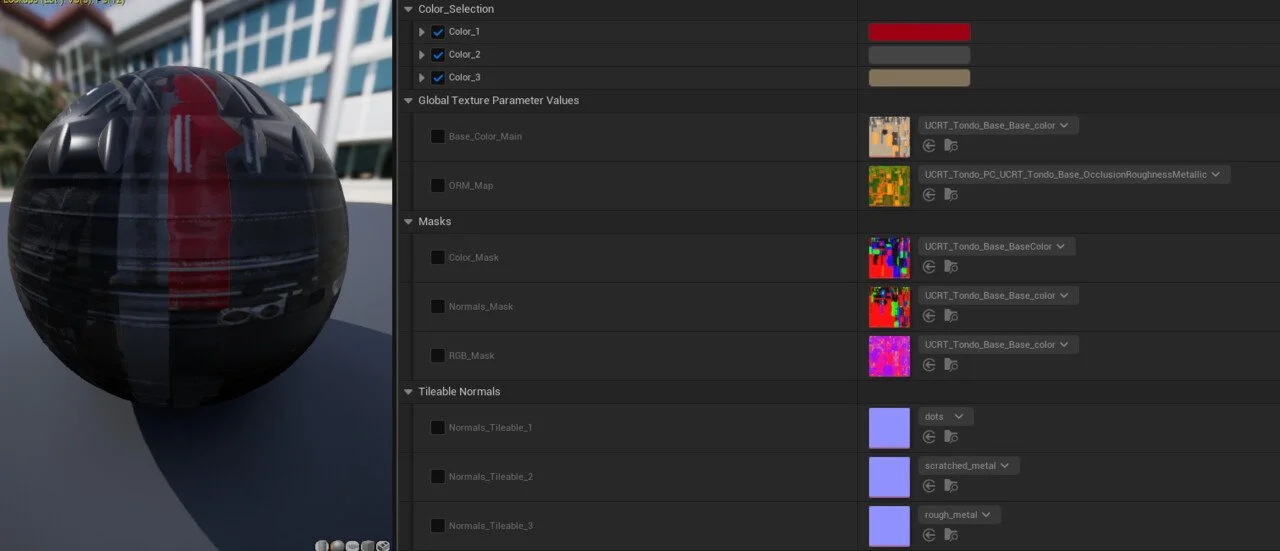
I really didn’t have a solid plan for texturing but I knew I wanted to utilize rgb masks for both normals and base colors, one I figured out how to set up rgb masks in ue5 I then used substance painter to create rgb masks. The masks included one for Color variation, another for Normal maps and lastly the final one for edgewear and dirt. Additional masks included a B&W mask for metals and a Orm masks for misc outputs.
Master Materials:
The master material had options for what color you can set the terminal to, what tillable normals you wanted to use etc, its a setup that is for this model but can be repurposed if needed.
Making decals and bringing them in ue5:
I made the decals in blender with the use of decal machine, then I've created a few custom shapes & used some of my decals library, then i created an atlas out of these generated decals. (to learn more about decal machine watch this video: DECALmachine 2.0
Creating and recreating decals and atlases is the process I use to make sure certain decals fit in with the model or structure i'm applying it to.
Lighting in ue5
For the lighting I wanted to make sure everything looked balanced so I took screenshots of the crt and brought it into photoshop then turned the image black & white, this is a great way for making sure values are balanced or off within a composition. For the color of the crt shell I wanted it to stand out from the existing background so I played with a few color choices and finally found what I liked.
Setting up the model in ue5
I brought the model into ue5 and messed with general lighting and camera setups, I didn’t have any materials at the time. I started testing decal ideas, material setups and screen animations overtime, I didn’t want to set up everything at once because of the fact that I didn't have a lot of things ready at the time, taking small steps to Implement the needed things helped in pacing myself and this project.
Thanks for checking out this Breakdown and I hope this help sheds light into my workflow!


