Basic Building Kits Breakdown
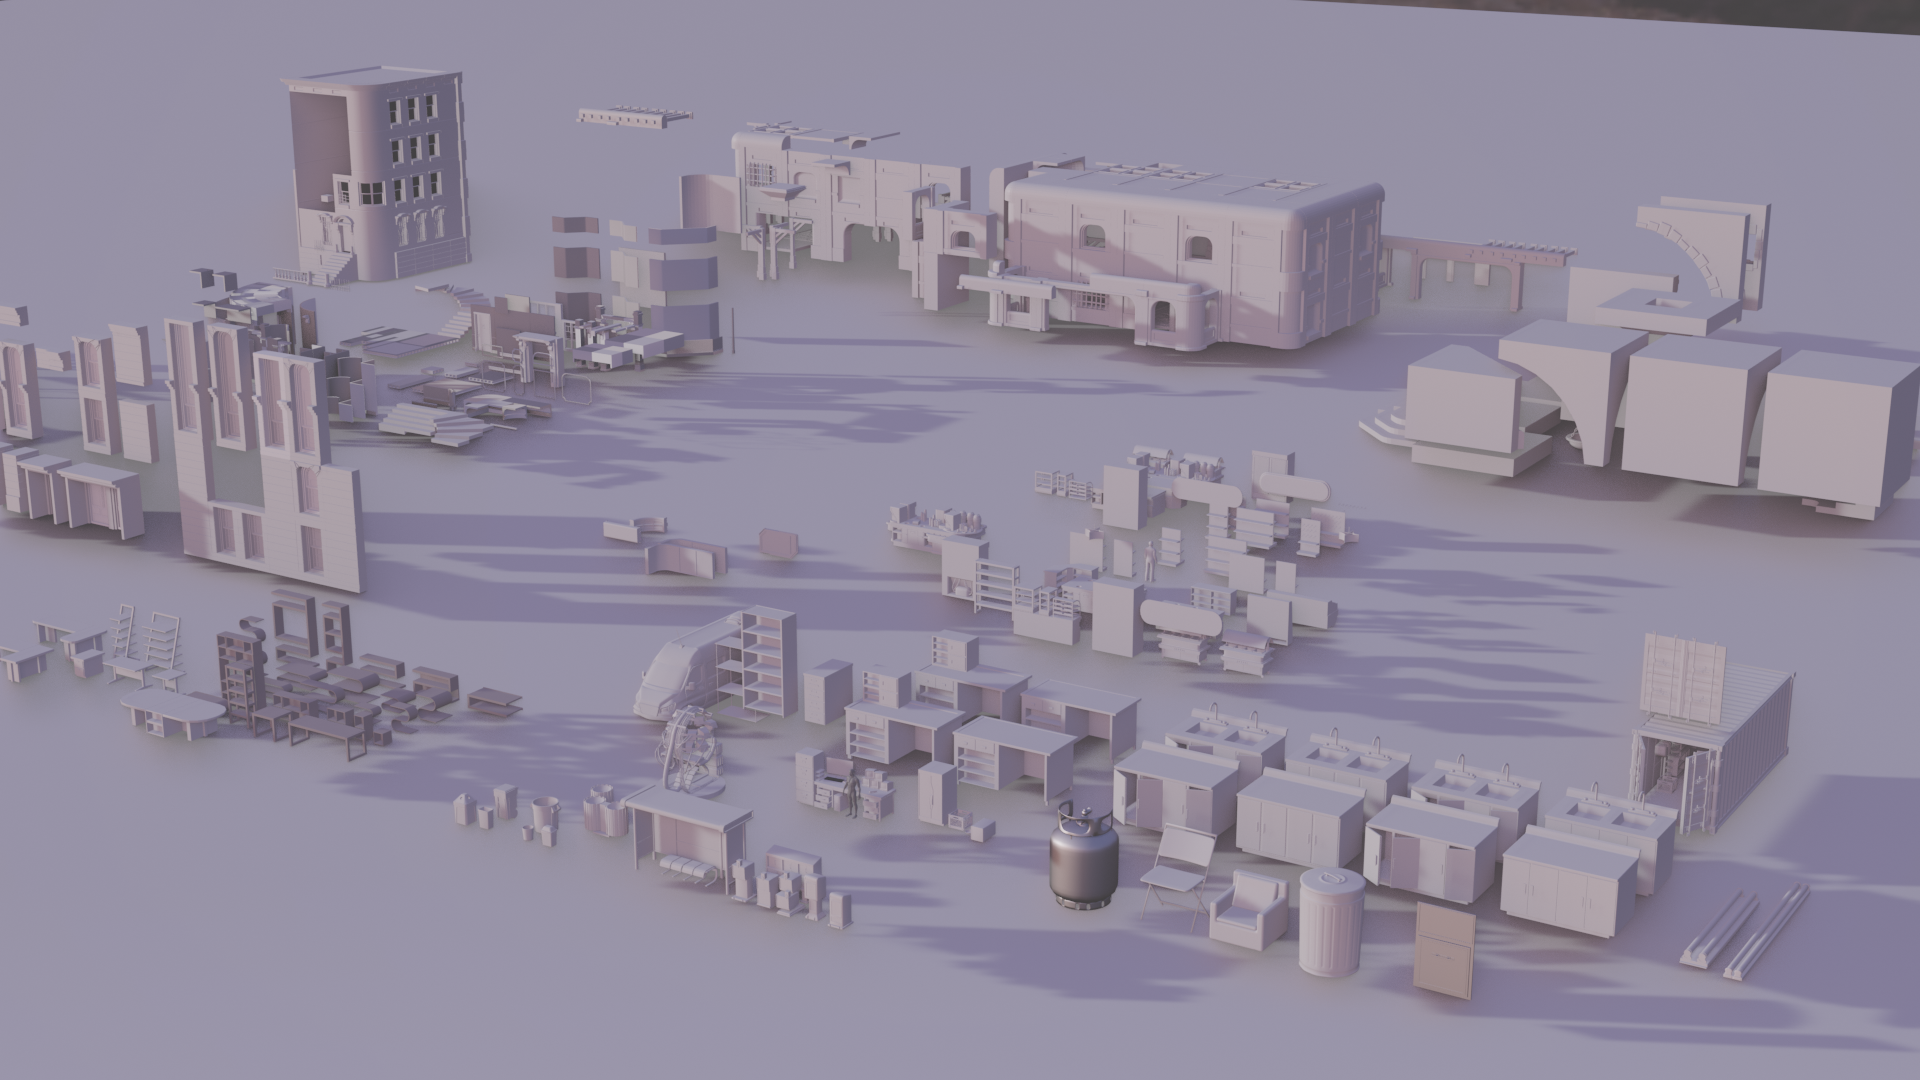
In this post I'm breaking down the process of creating this simple kit of modular building assets and the steps I took to keep this project on track. These will also include brainstorming, modularity rules, kit breakdowns and whatever else I feel is useful.
I started this kit as a way to build up not just my hard surface & game art library, I wanted this kit to be a launchpad into making different modular kits and avoid the long and tedious task of making sure all the parts fit together in a future project. The good thing about this kit is not everything has to be used and each one of these parts are simple enough to be modified into its own thing when added to a different project. If there are any questions please feel free to ask away at vertexpolyfort@gmail.com.
Pt 1: Brainstorming and blockouts
The goal for this project was to create a kit of buildings that can be used to make variants like residential and commercial buildings without looking too unique or custom, and the guidelines I set for this project was:
Have a way to assemble interior and exterior models.
Pieces must fit together to one another in a way that makes sense.
Avoid over bloated pieces that don't add anything new to the kit.
Must be able to snap together unit wise.
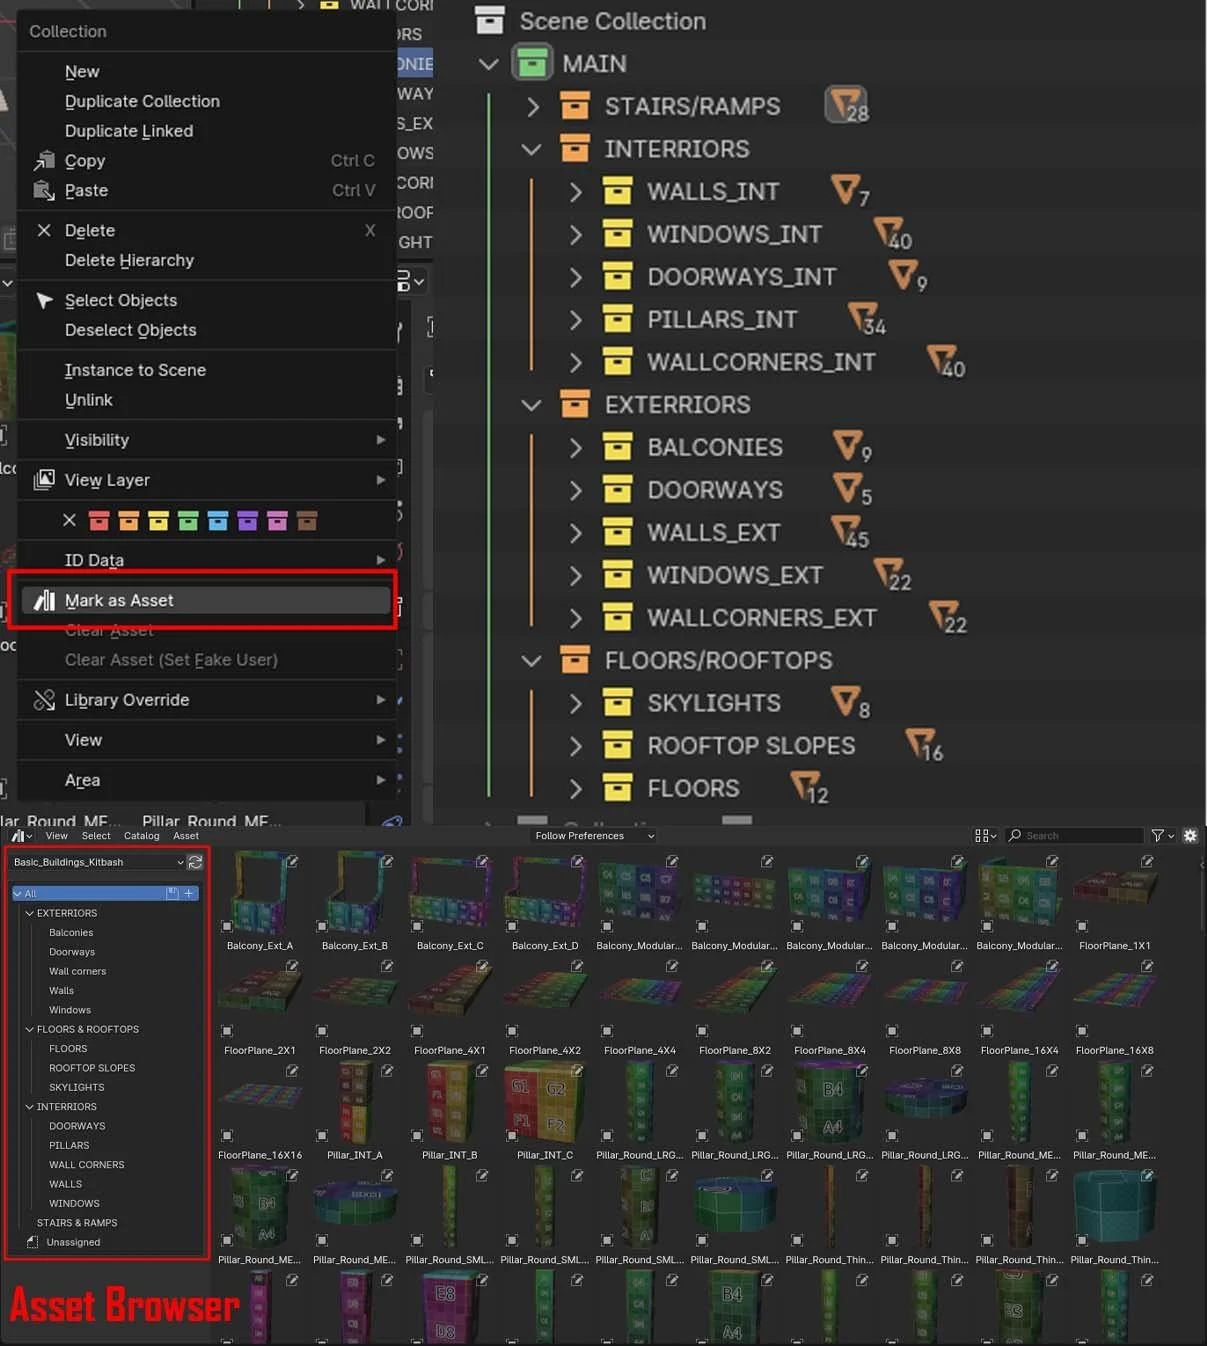
End goal is to have both a fbx exported kit and asset browser setups.
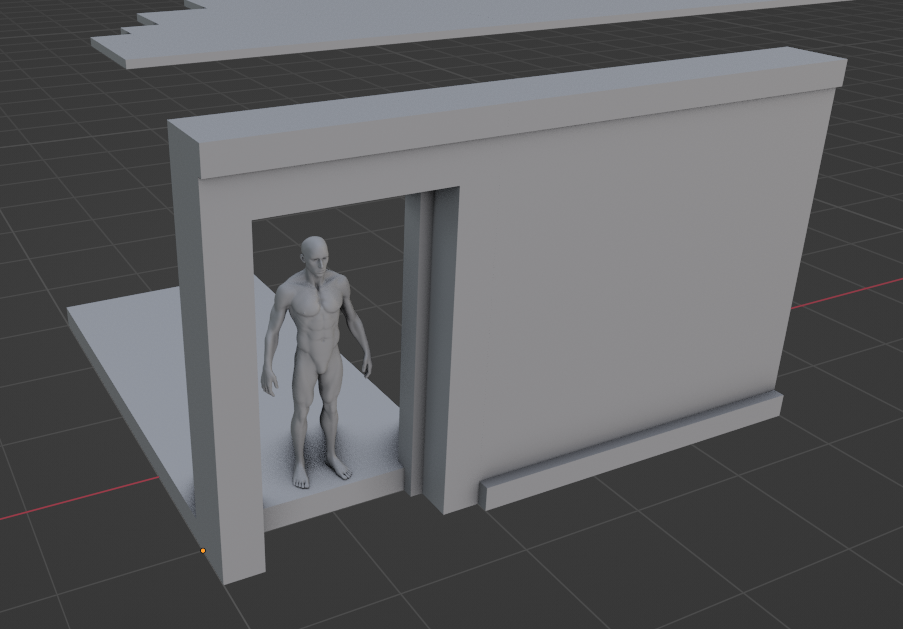
I Started off this project by gathering reference images of buildings that I felt can be dissected into modular elements at first glance, using a mix of Google maps street view, pinterest and in game screenshots to gather these references. keeping in mind that these had to look residential or commercial depending on how it's assembled, I started to build out a few wall kits and early on establishing units for these pieces. Keeping a base figure is useful when nailing the scales too.
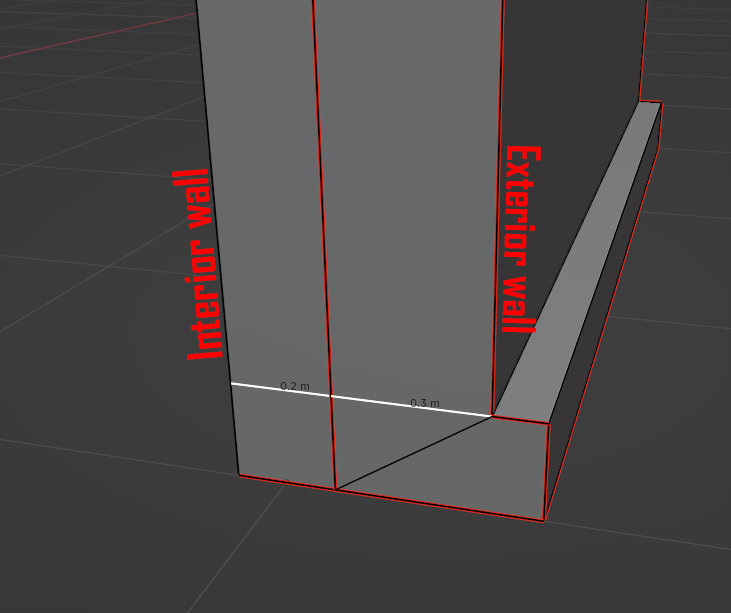
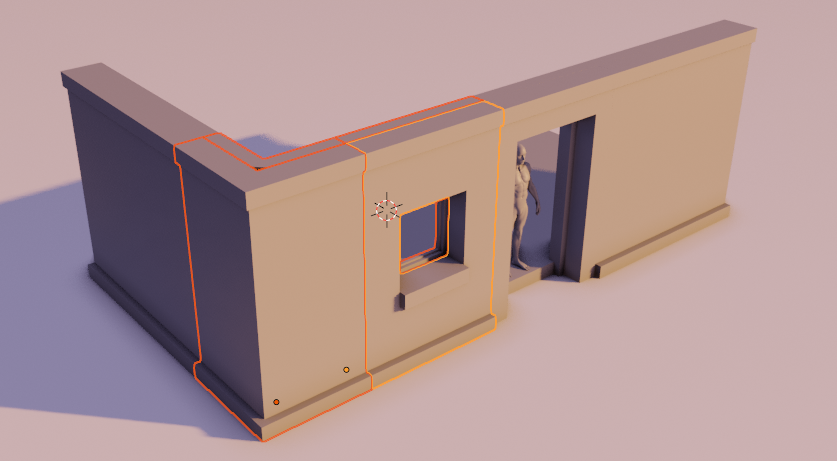
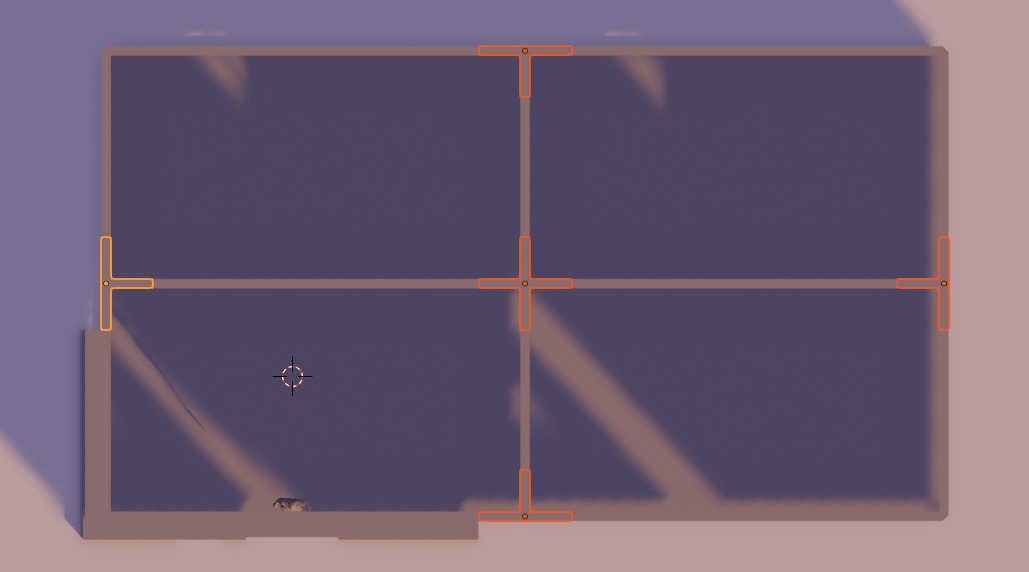
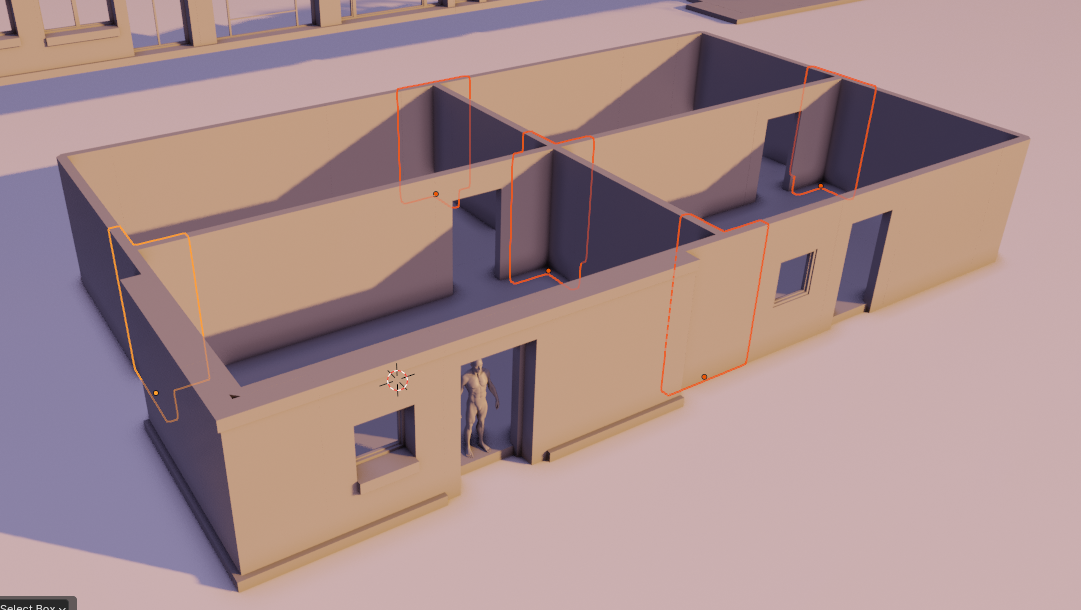
The thing I wanted to get right was to make sure the walls of the interior and exterior pieces matched up nicely to one another. Early on I had a few Ideas but eventually I found one that worked by having a rule where the origins must be in the same spot no matter what.
(Image shows both Interior and exterior with same origin placement.)
I also had another rule for the kit where the widths of unit for the interior had to be 2 units and exterior 3 units.
Once these basic rules were established I continued working on the rest of the kit pieces.
Pt 2 Creating the Models
The next steps of this kit was to create the pieces needed to fit in with the basic wall and doorway models. Asking yourself questions during this process will better help you understand what you need to create in order for the kit to work, Ie: ‘If i'm making a closed space what does it require? a wall corner?’ or ‘How would sunlight reach the interior? a window maybe?’.
From there that's when things start rolling in questions and problem solving, from more simple questions being solved to more complex questions needing to be solved. Simple being ‘how would the exterior versions of these models look?’
To more complex: ‘If there were 2 different rooms what would I need to have it fit modularly?’ By answers: making a corner variant that works for 2 rooms. Then: ’how would that work for 4 rooms even?’ same answer but other different variant models.
From here it was a careful balance of creating models, scrutinizing the ones I found redundant and creating test buildings to make sure these pieces worked with one another holistically.
This was a mix of trial and error and more complex questions that needed answers, sometimes simple answers too. Doing this while making sure things aren't too redundant AND following the goals listed above (or your own goals) is something that is needed to keep the project on track.
Pt3 Testing out these parts
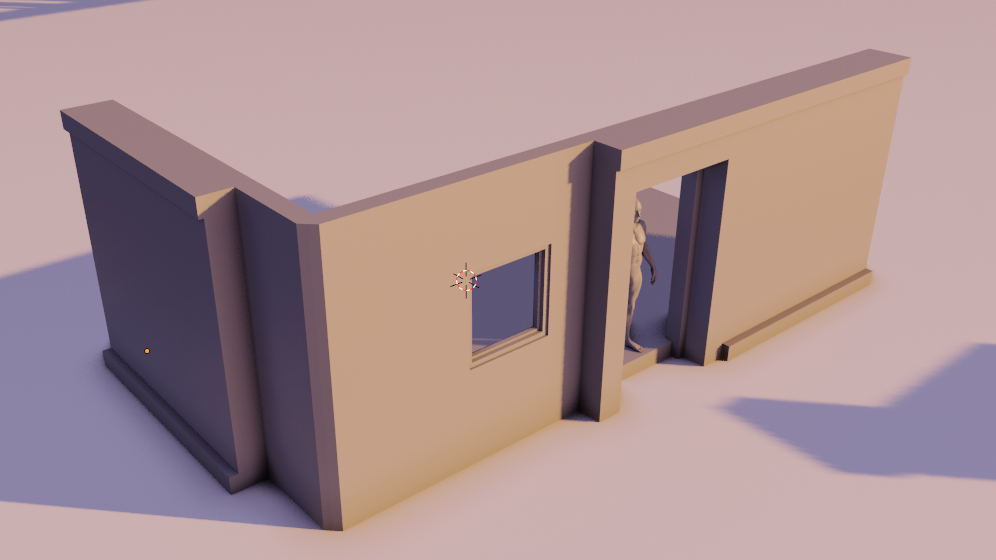
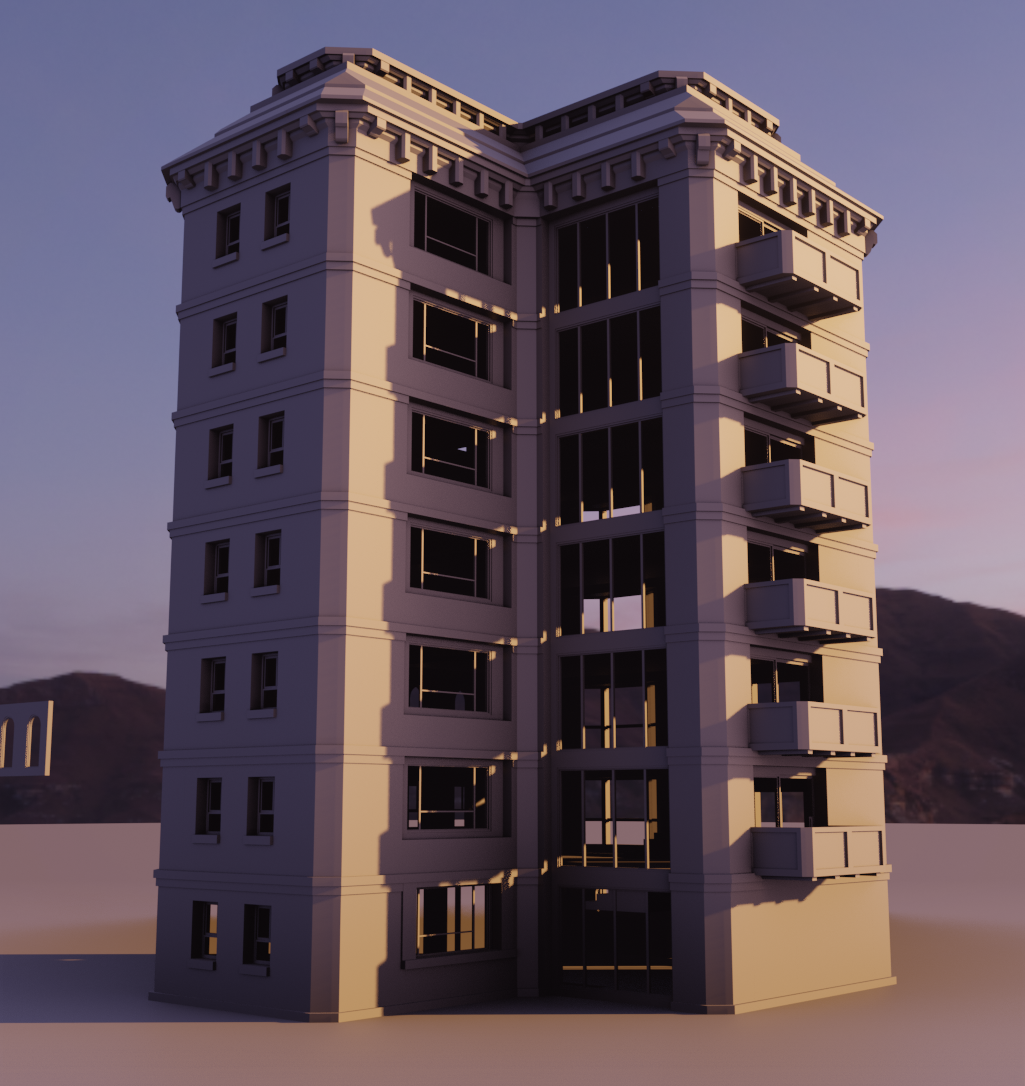
Going through the process of testing these kits was a huge part of the process and helped me evaluate what was needed, what isn't & what needed to be fixed. The way I went about creating these buildings was to imagine what was the building going to be used for and from there start building out these structures, from residential to commercial and even a bit of industrial too.
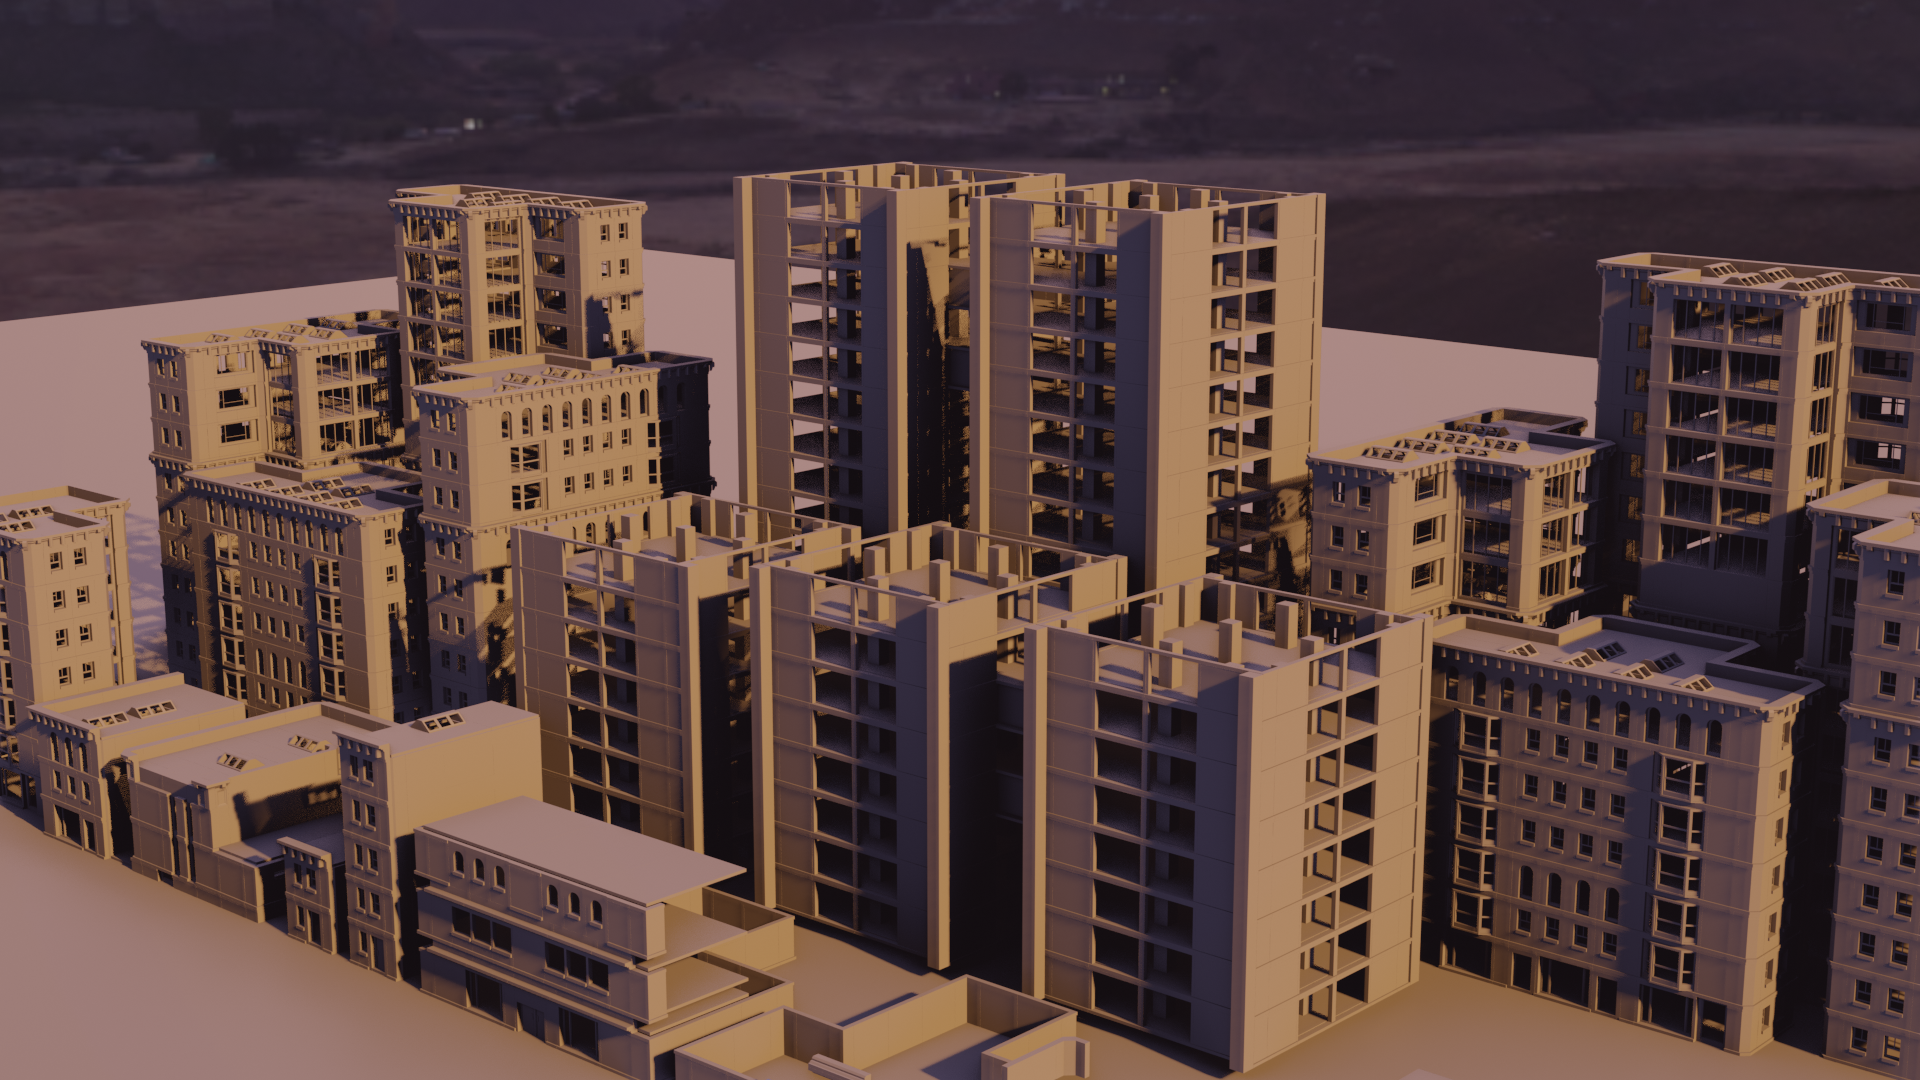
The best part about this process is when you have a ton of different building variants and get to assemble them all into a small city.
I didn’t create a tool that would generate different building variants during this project because these were still in a R&D phase and trying to juggle both the model and toolkit fixes would cause a headache. What I hope to do one day is to create a Building generator tool to quickly generate different building variants.
Pt 4 learning from past kitbashes
Over the years I've worked on many kitbashes on a variety of different projects, some successful and some not so much. What I learned from making these kits was to learn how to either stick with an idea or let it go if it isnt working out. No matter if these were a success or a failure, it still contributes to the overall knowledge when it comes to building out your skillset, sometimes the projects you've decided to part ways with can even help you out in one of your future projects too.
Pt 5 final
To Finally call this kitbash exploration done I wanted the delivery of the kits to:
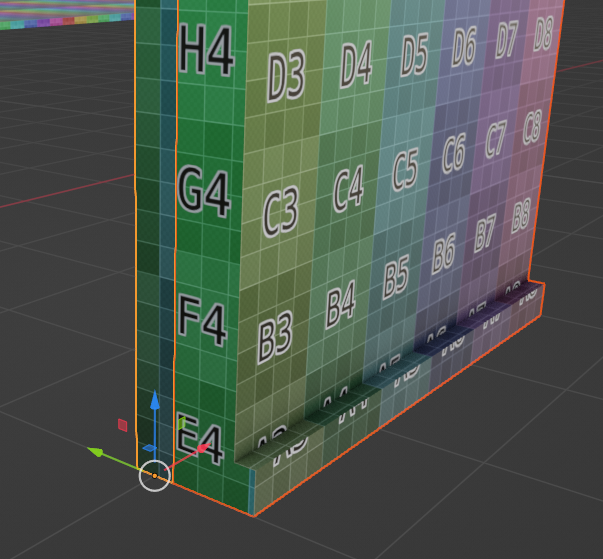
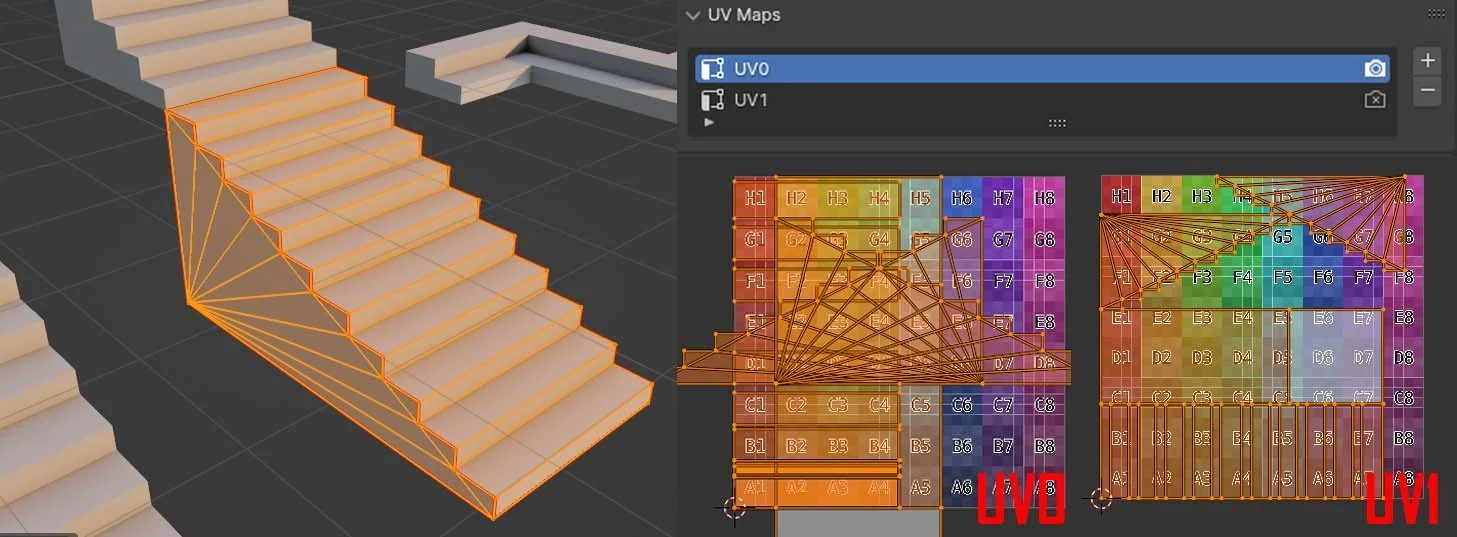
Have Basic texel density for UV0 and Basic 0-1 uv’s for UV1
Have A folder with its exported FBX models
Have the option be used with Blender’s Asset Browser
For the first Bullet point I went through the process of unwrapping the kits and setting up the uv maps needed, it was a daunting task but at the end everything was finished and ready to go.
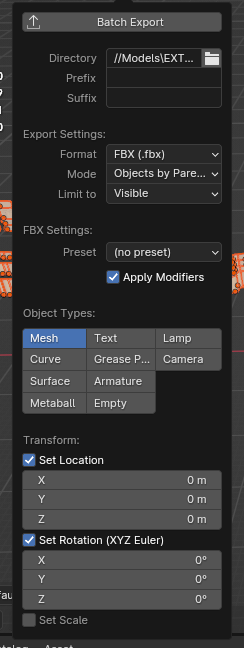
For the Second Bullet point I wanted to have all 297 pieces exported with object origins in place, what I didn't want to do was export them all by hand so I found a really useful addon called ‘Super batch Export’ and it helped me save a ton of time and stress, these are extremely useful especially when used in a Library of kits.
Batch exporter addon settings
For the last Bullet point I wanted to have the option to use these kits in Blender’s Asset Browser so I went ahead and marked all these models as assets, then used the Folder names in the hierarchy to define the categories in the asset browser and finally placed the models in these categories. If you're interested in learning how to use the Asset browser in blender, here's a tutorial to check out: https://www.youtube.com/watch?v=yBHhJXtEF1Q&t=30s&ab_channel=Greboge
With this Browser setup I'm finally able to drag and drop these pieces into any scene In blender.
I hope this breakdown helps in guiding folks on how this kit was made or inspiring others to create their own kits! If there are any questions feel free to shoot me a message at Vertexpolyfort@gmail.com.


